 Northstride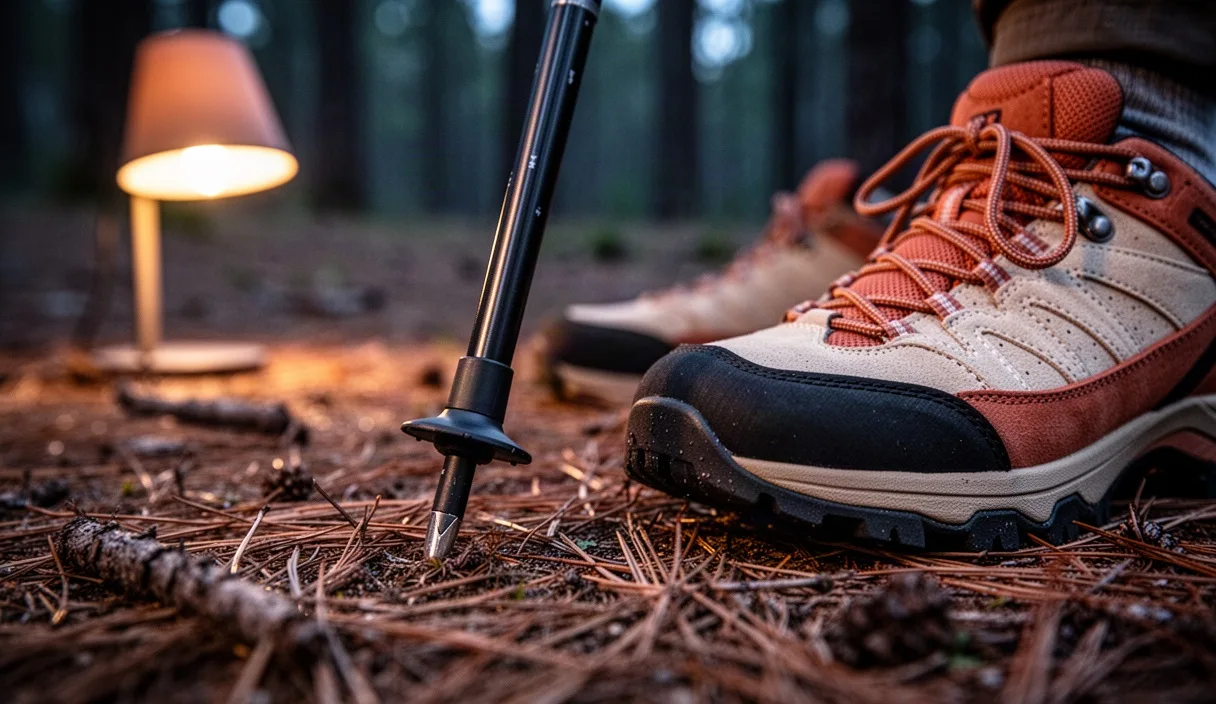

When we assemble a pair of Nordic poles in our workshop, we spend a quiet amount of time balancing the materials. We check the temper of the composite shafts, verify the grain and density of the natural cork grips, and thread the stiff woven webbing through the wrist wedges. Yet none of these physical parts matter until the walker engages with the ground. In Nordic walking, the tool comes alive not during the forward plant, but in the final third of the stride. That quiet, definitive push that happens behind the pelvis turns an ordinary stroll into an integrated, whole-body stride.
Most walkers intuitively understand how to lean on a stick for stability, but Nordic gait is not about leaning. It is about creating rearward propulsion through a continuous kinetic chain. To master the backward push-off, we must train our attention on what happens as the hand travels past the hip line, releases its mechanical hold on the cork, and transfers human force straight through the strap into the earth. Understanding this arc requires an appreciation for the mechanics of your limbs and the physics of the trail beneath your boots.
The biomechanics of propulsion behind the hip
Propulsion in Nordic walking begins where conventional walking ends. In a normal gait cycle, your foot rolls through the heel, passes over the midfoot, and pushes off the big toe. By the time that toe leaves the dirt, the leg's capacity to generate forward velocity drops significantly. When we add poles to this movement, the primary muscular work shifts into the posterior chain of the upper body. The latissimus dorsi, the long head of the triceps, and the posterior deltoid work in tandem with the gluteus maximus to extend the drive phase well beyond the boundary of the hip.
If you keep the pole planted in front of your center of mass, you create a braking force. Every time the tip hits the earth ahead of your leading knee, your shoulder absorbs an impact shock that slows your forward momentum. True propulsion requires the pole to act as a lever rather than a prop. The pole must be angled backward at the moment of ground contact, typically between 40 and 48 degrees relative to the trail surface. At this incline, the mechanical vector splits: part of the force anchors the tip into the terrain, while the greater share pushes your torso forward across the horizontal plane.
This rearward drive also triggers a rotational counter-movement across the thoracic spine. As the left arm extends fully behind the hip, the right shoulder girdle rotates forward to counterbalance the advancing left leg. This diagonal sling, connecting the left latissimus dorsi across the thoracolumbar fascia to the right gluteus maximus, creates a spring-like tension. By engaging this cross-body system, we recruit the deep core stabilizers naturally, distributing work evenly between the shoulder girdle, the trunk, and the lower legs without loading any single joint excessively.
Setting the pole angle relative to the trailing foot
Finding the correct strike point requires you to link the pole tip to the movement of your feet. We often observe walkers trying to calculate pole position relative to their front foot, which leads to reaching and overstriding. Instead, gauge your strike by the trailing foot. When your rear heel begins to peel upward from the earth, the tip of the trailing pole should be anchored roughly level with that rear midfoot or slightly behind it.
At this exact geometric point, your hand is passing your hip socket, and your elbow is unhinging from a soft bend into a long, straight line. If the pole tip lands too far forward, the angle becomes too vertical, forcing you to push down into the earth rather than backward against it. If the tip lands too far back, the carbide point will skid across gravel or roots because there is insufficient vertical load to bite into the surface.
| Surface Type | Tip Hardware | Optimal Angle | Ground Contact Target |
|---|---|---|---|
| Compacted granite dust | Raw carbide claw | 42 to 45 degrees | Adjacent to trailing instep |
| Asphalt and smooth paving | Angled rubber paw | 45 to 48 degrees | Opposite trailing heel |
| Soft forest loam or turf | Carbide spike with mini-basket | 40 to 44 degrees | Behind trailing heel strike |
Notice how surface texture alters the tactile feedback in your hands. On soft trail loam, the carbide point sinks between 5 and 10 millimeters into the soil, giving you an immovable pivot. On hard asphalt, the angled rubber paw relies entirely on the friction of the tread against the aggregate. Adjust your angle slightly more upright on paved paths to ensure the flat face of the rubber paw seats flush against the ground without slipping.
Opening the fingers without losing strap tension
The defining technical hallmark of Nordic gait is the release of the grip. Many newcomers to the sport squeeze the cork handles as if holding ski poles on a downhill run. Doing so locks the wrist joint and prevents the forearm from extending behind the torso. The wrist runs out of anatomical range of motion long before the shoulder finishes its drive, cutting the power phase short.
To overcome this limitation, Nordic walking systems use an anatomical harness strap that wraps securely around the heel of the hand and the base of the thumb. When we design these straps, we size them so the pressure distributes across the hypothenar eminence, the padded muscular zone on the pinky-side of your palm. This strap design allows you to open your fingers completely while maintaining full control over the pole.
- Initial plant: Keep the thumb and forefinger loosely wrapped around the grip as the tip makes contact with the ground at your mid-stride line.
- Mid-drive: As your torso moves past the pole, begin loosening the middle, ring, and little fingers. Your hand should not squeeze; let the palm accept the backward load.
- Full extension: When the hand passes the seam of your trousers, open the fingers fully. The palm faces slightly inward and upward, forming an open, flat plane.
- Strap transfer: Push hard through the harness. Your arm forms a continuous straight line from the rear shoulder down the pole shaft to the dirt.
- The recovery snap: As the trailing foot steps forward, use the elastic tension of the strap and the relaxed curl of your index finger to swing the handle back up into your palm.
The sensation should feel like throwing a ball backward underhand. The cork grip leaves the palm entirely for a fraction of a second at the apex of the push, resting purely against the webbing of the strap. When executed cleanly, this rhythm creates a pumping action in the forearm muscles, alternating between tension and complete relaxation. This cycle prevents forearm cramping and assists venous blood return through the upper extremities.
Correcting the habit of planting poles ahead of the knees
Carrying over habits from trekking or backpacking is the most common hurdle we encounter. Trekkers use poles as weight-bearing crutches, planting them ahead of the knees to catch their weight on descents or to steady the torso under a heavy rucksack. In Nordic walking, planting ahead of your knees acts like tapping the brakes with every footstep. It interrupts your cadence and directs jarring vibrational energy up the shaft into your acromioclavicular joints.
To break this habit, you must recalibrate your spatial awareness of where your hands belong. When your arm swings forward, your hand should rise no higher than your navel, roughly the height of a conventional handshake. At this peak of the forward swing, the pole tip must remain trailing behind the grip. If your pole tip swings past the handle to spear the dirt out front, your elbow is leading the motion instead of your shoulder.
Observe the alignment of your torso. Walkers who plant ahead of their knees frequently lean forward from the waist, bending their spine to reach for ground that has not yet arrived. Keep your sternum lifted, your gaze fixed 15 to 20 meters down the trail, and allow your pelvis to track smoothly forward. When the spine remains tall, the pole naturally drops into the ground right alongside your center of gravity, angled back and ready to push rather than catch.
Drills for fluid arm swings on packed dirt
Packed dirt trails offer the ideal laboratory for refining your technique. The dirt provides an audible scratch when your carbide tip meets the earth, giving you immediate acoustic feedback on the quality of your push. We recommend spending 15 minutes working through specific movement drills before setting out on your regular distance walks.
The Trail Drag Drill
Begin walking down a flat section of dirt with your hands slipped through the wrist straps, but completely let go of the grips. Allow your arms to dangle loosely at your sides. Walk with a brisk, natural cadence. Let the poles drag passively behind you in the dirt, their tips scraping parallel lines in the soil. Pay attention to their natural angle: because they are dragging, they will sit at an ideal 45-degree angle. Once you find this relaxed rhythm, slowly swing your arms from the shoulders without grabbing the handles. Feel the poles slide along the trail, maintaining that rearward slant without bouncing.
The Extended Release Drill
Once you are comfortable with the arm swing, begin applying brief bursts of pressure into the straps at the back of each stroke. Do not close your fingers around the cork. Keep your palms flat and open, pressing solely against the fabric harness as your hand passes your hip. Listen for a distinct, sharp bite of the carbide tip into the hard-packed earth. If you hear a skittering noise, your angle is too shallow. If you hear a dull thud, you are planting too close to vertical. Look for a clean, single click as the tip catches, followed by a quiet release as the pole lifts into the air.
The Single-Stick Cadence Run
Remove one pole entirely and walk with just a single stick in your non-dominant hand. Focus all your attention on that single side for 50 paces. Coordinate the push-off of the pole with the toe-off of the opposite foot. By isolating one side, you can easily feel whether your arm is finishing its stroke behind your glutes or stalling early at the pocket line. Switch hands after 50 paces, then re-introduce both poles, matching the dominant side's power to the rhythm you just established.
Common mistakes in the backward push-off
Small errors in timing or joint position can break the chain of propulsion. Pay close attention to these structural missteps during your sessions:
- The Broken Wrist: Collapsing the wrist downward or upward at the finish of the stroke. The wrist should stay in a neutral alignment, acting as a solid conduit between your forearm bones and the strap.
- The Chicken Wing: Flaring the elbows outward away from the ribcage during the backward drive. Keep your elbows tracking close to your sides, sweeping past your hips in a clean sagittal plane.
- Over-striding to Match Reach: Taking unnaturally long steps to give the poles more time to push. Your stride length should remain natural to your height and flexibility; cadence should drive your speed, not artificial reach.
- Premature Grip: Snatching the cork grip back into your palm before the arm has finished extending behind you. Let the arm straighten completely before the fingers initiate their return scoop.
Practical next steps for your training
To integrate these mechanics into your body, avoid trying to alter your entire technique at once. On your next outing, spend the first 500 meters testing strap tension. Your harness should fit snugly enough around your hand that you can open your palm without the pole sliding down your wrist, yet loose enough to allow full capillary circulation through your fingers. If you notice tingling or cold fingertips, back the wedge adjustment out by 3 millimeters.
Dedicate one walk each week entirely to cadence and push mechanics rather than heart-rate conditioning or distance. Work on packed dirt or firm crushed-stone fire roads where your poles can grip reliably without skidding. If you experience persistent shoulder, elbow, or lower-back discomfort, pause your pole drills and have an experienced instructor or a sports physical therapist analyze your joint angles, as repetitive loading with poor mechanics can irritate connective tissue.
Take your time with the physical sensations of the gait. Feel the woven strap settle into your palm, the balance point of the shaft as it swings forward, and the solid bite of the carbide tip behind your heel. When these movements align, the effort of walking dissolves into a rhythmic, forward glide that carries you miles down the trail with quiet, sustainable momentum.