 Northstride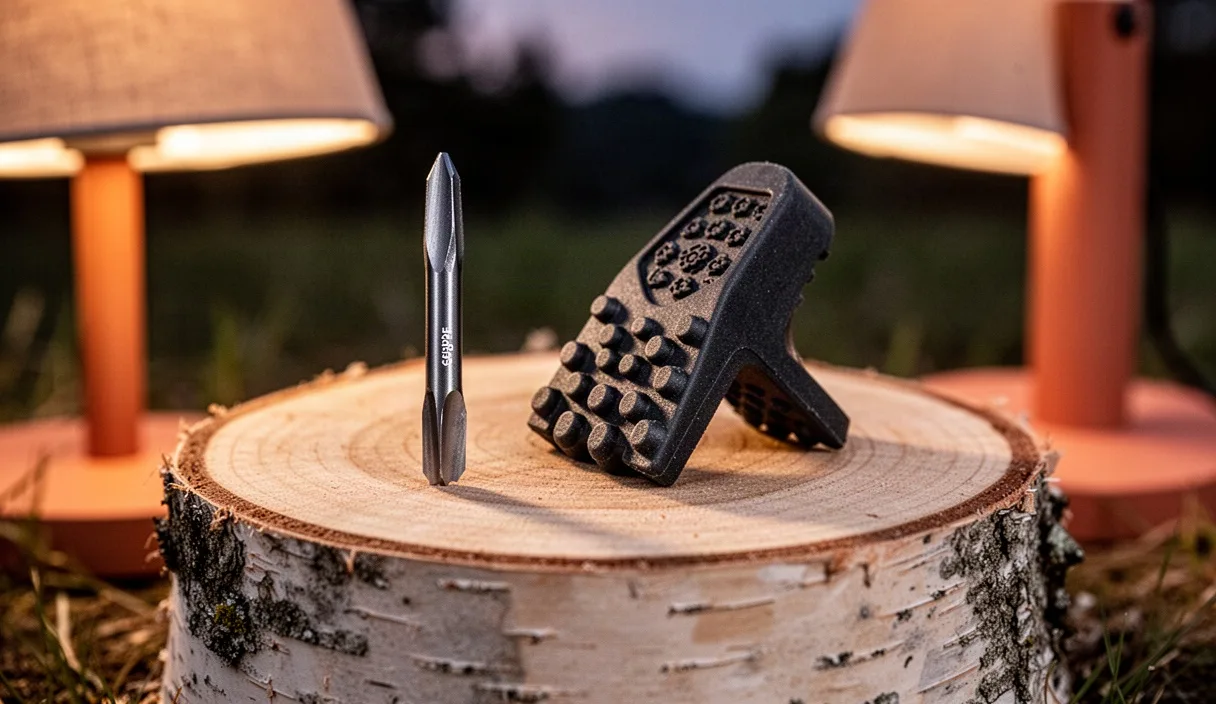

Every time our poles strike the ground, a conversation happens between the tip assembly and the terrain. We feel it through the shafts as a crisp ping on granite or a muted thud on tarmac. The interface between pole and earth usually comes down to two components: a vulcanized rubber boot, often called a paw, and a raw tungsten carbide tooth pressed into a plastic basket ferrule. Choosing between them is not simply a matter of preference. It is a decision about friction, impact vibration, and material longevity.
When we build and test pole hardware in our workshop, we spend hours testing how different durometer rubbers slide, grip, and degrade under axial and shear forces. A rubber paw protects both the trail surface and the metal spike underneath, deadening joint-jarring vibrations on unforgiving surfaces. Yet leaving that rubber boot on when the ground shifts from dry road to greasy wet clay turns an effective walking aid into a slick hazard. Understanding how these materials behave underfoot allows us to adapt our gear seamlessly as the grade and surface shift beneath our boots.
How rubber compounds respond to cold pavement
Most walking paws are pressed from synthetic vulcanized rubbers, typically styrene-butadiene rubber or blends with natural latex. In mild temperatures around 20 degrees Celsius, these polymers remain pliable, sitting around a Shore A durometer hardness of 65 to 70. At this density, the rubber deforms slightly when loaded, spreading across micro-fissures in dry aggregate to generate mechanical interlock and high surface friction. The feeling underhand is quiet, forgiving, and sticky.
As ambient temperatures drop below 4 degrees Celsius, the polymer chains in the rubber lose their mobility, a transition known in material science as approaching the glass transition point. The sole hardens, climbing toward 80 Shore A or higher on frosty asphalt. Instead of flexing into the road grit, the cold paw behaves like rigid plastic. It skitters across smooth aggregate stones rather than biting into them. If a thin sheen of black ice or morning frost coats the surface, the rubber paw can slip out from under your stride without warning.
| Pavement Temperature | Rubber Behavior (Shore A 65-70 base) | Traction Quality | Vibration Dampening |
|---|---|---|---|
| 15 to 25 deg C | Flexible, high micro-deformation | Predictable grip on dry aggregate | High acoustic and mechanical dampening |
| 2 to 8 deg C | Stiffening, limited siping deflection | Moderate, prone to sliding on paint markings | Noticeable vibration return to wrists |
| Below 0 deg C | Hardened, low elasticity | Low, skate risk on packed frost | Minimal dampening, acts as a rigid block |
To evaluate your paws in cold weather, press your thumbnail directly into the tread lug before you leave the house. If the material does not yield with a modest thumb press, expect reduced grip on the road. On sub-zero road outings, you may need to reduce your poling angle, planting the shaft closer to vertical so your weight drives straight through the pole center rather than relying on angled friction to prevent slipping.
When to strip the paws down to raw carbide spikes
Carbide tips are made from tungsten carbide grains bonded with cobalt in a sintering process. The result is a ceramic-metal composite that ranks near 9 on the Mohs scale, just shy of diamond. While a rubber paw relies on adhesive friction across a broad surface area, a carbide tip creates grip by concentrating your body weight onto an area smaller than three square millimeters, punching through surface detritus to lock into solid mineral structure.
We strip the rubber paws and expose the raw spikes as soon as the terrain provides natural penetration depth. Earth, crushed limestone, pine needle pack, and wet forest loam all require penetration rather than surface adhesion. If you leave a flat rubber paw on soft trail mulch, the boot simply skates across the wet organic matter. The carbide tip, conversely, punches straight through leaf litter to bite into the subsoil below, anchoring the pole end against back-sliding during the push-off phase.
- Wet river rock and bedrock: Raw carbide scratches into quartz and feldspar crystals, catching on microscopic irregularities that would grease a flat rubber pad.
- Gravel road and packed fire trail: The spike slides between loose stones to grab the hardpan base below, keeping the pole planted securely.
- Mud and deep loam: Stripping the paw prevents the wider rubber boot from suctioning into the muck, which can pull the tip assembly right off the pole shaft.
- Packed snow and frozen dirt: Carbide pierces crusts that rubber boots cannot dent, giving you positive purchase on winter ascents.
The only place we keep the rubber paws on off-road terrain is on fragile, protected slickrock or cultural heritage paths where metal spikes would scratch historical stone, leave unsightly white scars, or pulverize sandstone edges. In those specific settings, the ecological cost of a carbide tip outweighs the performance gains.
Directional orientation of the asphalt paw sole
Unlike symmetrical bell tips or round dome protectors, dedicated asphalt paws have an asymmetrical, boot-like profile. They feature an angled heel, a flat midfoot contact patch, and an upturned toe. We shape them this way to mirror the dynamic angle of a fitness walk or standard pole stride, where the pole shaft rarely meets the ground at 90 degrees. Instead, it strikes backward at an acute angle between 60 and 75 degrees.
Installing these paws backwards is one of the most frequent errors we see on the path. If the paw is rotated 180 degrees, the rockered toe hits the asphalt first during the plant phase, rolling the pole onto a narrow knife-edge rather than seating the broad traction pad against the road. This instability twists the pole wrist loops and strains the lower forearm tendons over long distances.
To align the paws accurately on your poles, follow this procedure before your walk:
- Loosen your grip on the handle and let your arms hang naturally in the straps, standing on a level hard floor.
- Hold the pole at your natural plant angle, angled slightly backward beside your hips as if completing a push stroke.
- Push the rubber paw onto the plastic ferrule dry, without glue, turning it by hand until the flat, broad tread block sits flush against the flooring.
- Confirm that the toe of the rubber boot points directly forward, aligned with the direction of your travel and the front of your pole grip.
- Apply firm downward body weight to seat the paw securely onto the internal taper of the plastic ferrule.
Once seated, sight down the length of the shaft from the grip. The directional axis of the grip, your hand position, and the forward toe of the rubber paw should lie in the same geometric plane. If the paw spins loose during walking, the inner bore of the rubber has lost its friction fit or accumulated road grime, requiring cleaning or replacement.
Diagnosing worn rubber treads before they tear
Rubber paws are consumable wear items designed to take the beating so your carbon or aluminum shafts do not have to. Inside every quality paw sits a small zinc-plated steel washer. This washer acts as an internal armor plate, preventing the narrow carbide spike from punching upward through the bottom of the rubber sleeve when you push down hard. Understanding the state of this washer and the surrounding rubber is vital to avoiding sudden gear failures miles from home.
We monitor three distinct stages of paw wear during regular workshop checks:
| Wear Stage | Physical Manifestations | Action Required |
|---|---|---|
| Surface Wear | Tread siping rounded; mold lines worn off; 1 to 2 mm reduction in lug depth. | Continue use. Safe for flat pavement and tarmac workouts. |
| Deep Lug Erosion | Base compound exposed; sole worn down to 3 mm thickness; angled heel profile worn flat. | Order replacements. Rubber is prone to tearing if exposed to rough stone. |
| Internal Washer Breach | A small metallic ring or shiny spot visible in the rubber center; tip rattling inside boot. | Retire immediately. Continued use will punch carbide through and damage the ferrule. |
To test for an internal breach before it becomes visible on the outside, slide a thin wooden toothpick or the blunt end of a match into the bottom drain holes or center tread grooves. If you hit a hard metallic plate backed by solid rubber, the structural barrier is still intact. If you feel bare carbide protruding directly through a cracked internal washer, discard the paw. Walking on a breached paw will quickly grind down the plastic ferrule of your pole, a component that is far more difficult to replace than a simple slip-on rubber foot.
Field storage habits for wet tips
Transitions happen constantly along mixed routes. You step off a mile of macadam onto a steep, wet granite trail, pull off the wet rubber paws, and must decide what to do with them while your hands work the poles. Shoving muddy, dripping rubber paws directly into a sealed jacket pocket or deep inside an unventilated pack creates problems for both the rubber and your other gear.
Wet rubber boots trap moisture against the internal steel reinforcement washer. If left damp in a dark, warm environment for days, the washer oxidizes. Rust weakens the bond between the metal disc and the vulcanized rubber walls, causing the washer to delaminate and tilt sideways inside the cavity. The next time you press the paw onto the pole, the crooked washer binds against the carbide ferrule, making it impossible to seat the paw straight.
For mid-hike storage, we carry a small mesh ditty bag clipped to the outside daisy chain of our daypacks, or we snap the paws into dedicated rubber keeper clips attached to the upper shaft sections. Storing them externally allows ambient airflow to evaporate road water, prevents mud from coating the inside of your pockets, and keeps the paws within arm's reach when the trail dumps you back onto a paved stretch.
When you return to your shop or home base, do not leave wet paws attached to the pole tips. Pull them off every single time. Wash the grit out of the interior barrel using warm tap water and an old nylon bottle brush. Stand the paws upright on a paper towel, hollow side down, to drain thoroughly. At the same time, dry the exposed carbide spikes and plastic ferrules on the poles with a shop rag. Storing poles with the paws installed traps water inside the ferrule junction, encouraging galvanic corrosion on poles that use aluminum lower sections or steel ferrule pins.
Common mistakes
The most widespread mistake we encounter is using dry friction fit paws on oily or muddy ferrules. If fine trail silt gets inside the rubber sleeve, it acts as a ball-bearing lubricant, allowing the paw to twist out of alignment or slide off into deep mud unnoticed. Always wipe the plastic pole ferrule completely dry and clean with your thumb or sleeve before sliding the paw back into place.
Another frequent oversight is ignoring the difference between Nordic walking paws and round trail caps. Round caps offer no directional purchase, while directional paws must be adjusted when you shorten or lengthen your poles. Changing pole length shifts the ground entry angle. If you adjust your telescoping shafts to tackle a steep climb, stop for five seconds to twist the paw so the sole sits flat against the new incline angle.
Finally, avoid leaving rubber accessories stored in hot vehicles or direct summer sunlight on a windowsill. Ultraviolet radiation and thermal cycling degrade vulcanized compounds quickly, causing micro-cracking along the flex points and hardening the compound prematurely.
Practical next steps
Take your poles into your workspace and pull the rubber paws off both shafts right now. Inspect the inside cavity using a small penlight. You should see a clean, flat steel washer resting squarely at the base of the bore, free of orange surface rust or tears in the surrounding rubber sidewalls.
Next, examine the exposed tungsten carbide tips. A sound tip shows sharp, chiseled outer edges or an intact concavity if your poles use crowned teeth. If the carbide insert is cracked, loose in its plastic housing, or rounded into a smooth dome, the tip has reached the end of its functional life. While changing rubber paws is a simple manual task, replacing pressed or glued plastic ferrules often requires dipping the pole ends in boiling water to soften thermal adhesives. If you are uncomfortable working with heat guns or hot water baths on lightweight composite poles, consult an outdoor gear repair technician at an authorized shop to have new ferrules set true.
Once your hardware is cleaned, dried, and inspected, stash an extra pair of fresh paws along with a small zip-top bag in your pack repair kit. Rubber boots tear or get pulled off by trail roots without warning, and having a fresh, pliable pair on hand ensures your stride stays quiet, stable, and cushioned no matter how many miles of pavement lie between you and the trailhead.